 MetaStocker
CSV & exports
Adobe Stock CSV Import Checklist: Check Every Row First
A CSV export is only a prepared metadata file. It is not proof that Adobe Stock will accept the metadata or apply it to your assets. Before importing, check the structure, inspect how each cell is parsed, and compare every filename with the uploaded asset. This guide uses one concrete sample row and a repeatable review process for contributors who want to catch errors before they reach the portal.
1. Start with the Adobe-specific contract
Adobe Stock CSV requirements can change, so check the current contributor upload guidance and the import screen before relying on an old template. The CSV maps filenames to titles and keywords, with an optional category number and release filenames. Treat the category number as a platform-specific code, not as a descriptive word.
Keep the conservative limit of 49 keywords while checking the current upload screen. Adobe’s general metadata guidance also says the most important terms should come first, especially within the first ten. Titles should be concise and descriptive; the current CSV guide gives a 70-character title limit.
- Use the exact column names and order expected by the current Adobe workflow.
- Do not copy a category code from memory or from another marketplace.
- Keep metadata in the language required by the contributor account.
2. Match filenames before checking metadata
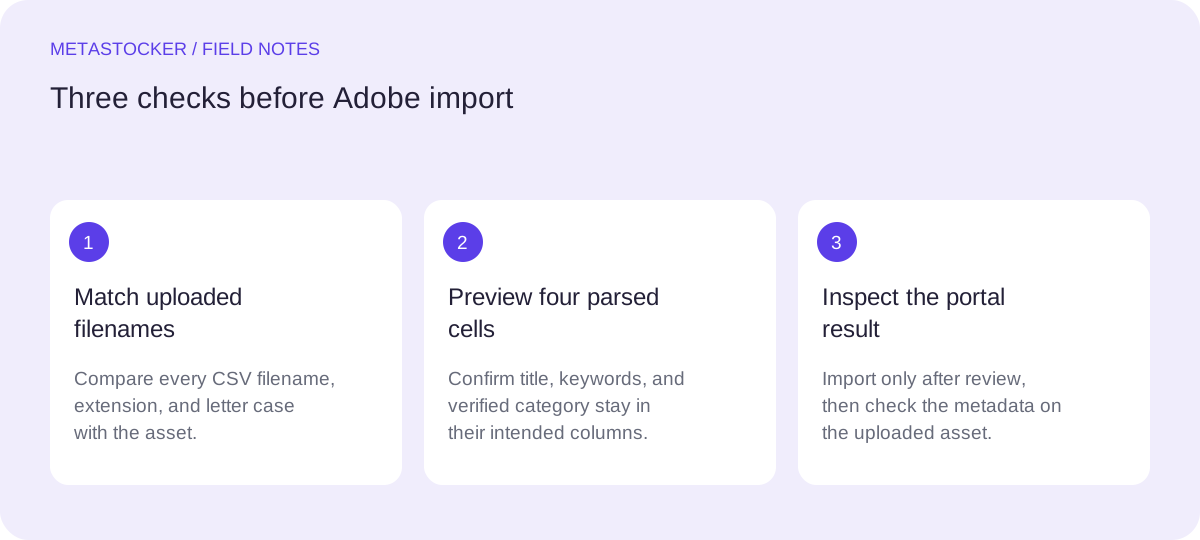
Upload the image or video assets before importing the CSV. Each filename in the CSV must match the uploaded asset, including its extension and letter case. A visually perfect row is still unusable if it points to the wrong file or to a filename that differs by one character.
Make a short comparison list from the asset folder and the CSV. Look specifically for renamed files, duplicate names, missing extensions, trailing spaces, and capitalization changes. For videos, remember that a metadata tool may work from sampled previews; inspect the full motion yourself before approving the description and keywords.
- Confirm one CSV row per intended asset.
- Compare extensions such as .jpg, .png, and .mp4 exactly.
- Remove rows for files you will not upload in this batch.
3. Preview the parsed cells
Do not judge a CSV only by how it looks in a text editor. Open a copy in a spreadsheet or another CSV-aware viewer and inspect the parsed cells. Confirm that commas inside a title or keyword list remain inside one cell, quotation marks are handled correctly, and line breaks have not shifted later values into the wrong columns.
Preview the header and several representative rows: a short title, a row with many keywords and a row with punctuation. If a category value has shifted into the Keywords column, repair the export. Category is optional, so an intentionally blank Category cell is valid; investigate it only if you meant to supply a category and its value was lost.
- Verify the header creates the intended columns.
- Check that the Keywords cell stays a single cell.
- Look for empty cells caused by extra separators.
- Inspect the first and last keyword in each reviewed row.
Filename,Title,Keywords,Category
city_bridge_dawn.jpg,Bridge over river at dawn,"bridge,river,city,architecture,dawn,waterway,travel",2
4. Worked example: verify the category instead of guessing
Example, not a measured result: suppose you are preparing city_bridge_dawn.jpg, a commercial photograph showing a modern bridge over a river at sunrise. The title describes the visible subject and setting without turning into a keyword list. The keywords begin with the strongest concepts, then add relevant context. The category value is 12 only as a placeholder in this example; you must verify whether 12 is the current Adobe code for the intended category before import.
If the current portal assigns a different code, replace 12 with the verified value. If you cannot confirm the code, leave the row out of the import batch while you check the contributor documentation. Do not substitute a category name such as “Architecture” when the CSV field expects a number.
After exporting, preview the parsed row. You should see four cells: the filename, one title cell, one keywords cell, and one category cell. Then open the result in Adobe Stock and inspect the metadata applied to the asset. That final portal inspection is a separate step from creating the CSV.
- Confirm the bridge and river are actually visible.
- Check that the title is within the current character limit.
- Count keywords conservatively and remove irrelevant terms.
- Verify the category code in the current Adobe workflow.
- Inspect the imported metadata in the contributor portal.
Filename: city_bridge_dawn.jpg
Title: Modern bridge over river at dawn
Keywords: bridge, river, city, architecture, dawn, waterway, travel
Category: 12 (example placeholder; verify before use)
5. Review relevance, language, and sensitive assumptions
Every keyword should describe something a buyer can reasonably find in the asset. Remove repeated, broad, or merely aspirational terms. Do not infer a person’s identity, ownership, location, species, or other sensitive fact from pixels. If a location, date, or person matters, use only information you have independently verified and that the submission context permits.
Metadata language must match the contributor account requirements. Writing this guide in Russian does not mean an Adobe account should receive Russian metadata. If the account requires English, prepare English titles and keywords, even when your working notes are in Russian.
- Keep keywords specific to the individual file.
- Avoid guesses presented as facts.
- Use the account’s required metadata language.
- Do not reuse blanket batch tags for mixed content.
6. If MetaStocker created the export
MetaStocker can generate editable metadata locally in the browser and export Adobe CSV files. In local mode, model inference stays on your device; the first model download needs internet, and loading a model into memory is different from retaining downloaded browser files in cache. Review the generated result per file before exporting. The app’s requested tag count validation does not prove that the tags are accurate.
Use the app as a drafting and export step, then apply this Adobe checklist. A local export does not upload or submit anything, does not guarantee acceptance, and does not embed metadata into the original file. If you use the optional OpenAI API mode, previews and context are sent to OpenAI using your own key; protect that key and review the resulting metadata just as carefully.
- Edit questionable rows before exporting.
- Preview the exported CSV in a CSV-aware viewer.
- Keep the original assets separate from the CSV review copy.
- Treat portal inspection as the final verification step.
Before you continue
- Check the current Adobe CSV requirements and upload screen.
- Confirm exact filename, extension, and case for every row.
- Preview the CSV as parsed cells, not only as raw text.
- Keep each title within the current 70-character CSV limit.
- Use no more than 49 keywords unless the current portal instructs otherwise.
- Put the strongest relevant terms first.
- Verify every category number; never guess a code.
- Upload assets before importing the CSV.
- Inspect the metadata in the Adobe contributor portal after import.
- Separate a successful file export from successful portal import.
Sources and editorial approach
Prepared with AI assistance. Worked examples are illustrative. Automated checks do not replace checking the requirements of your stock platform. How these guides are made.